What is a Privy Tag?
Privy Tags are labels that you create to organize your contacts. Privy Tags are highly customizable and can be applied during an import or via a contact’s profile. Privy Tags can be used in a variety of ways to identify customers, such as wholesale clients, local customers, VIP customers, and more. Once a tag is applied, it becomes available for contact filtering and audience segmentation.Add Tags during a Contact Import
When you import a spreadsheet (CSV) of contacts, you will reach a Tags step. This step in the import process allows you to apply new or existing tags to all of the contacts included in the import file.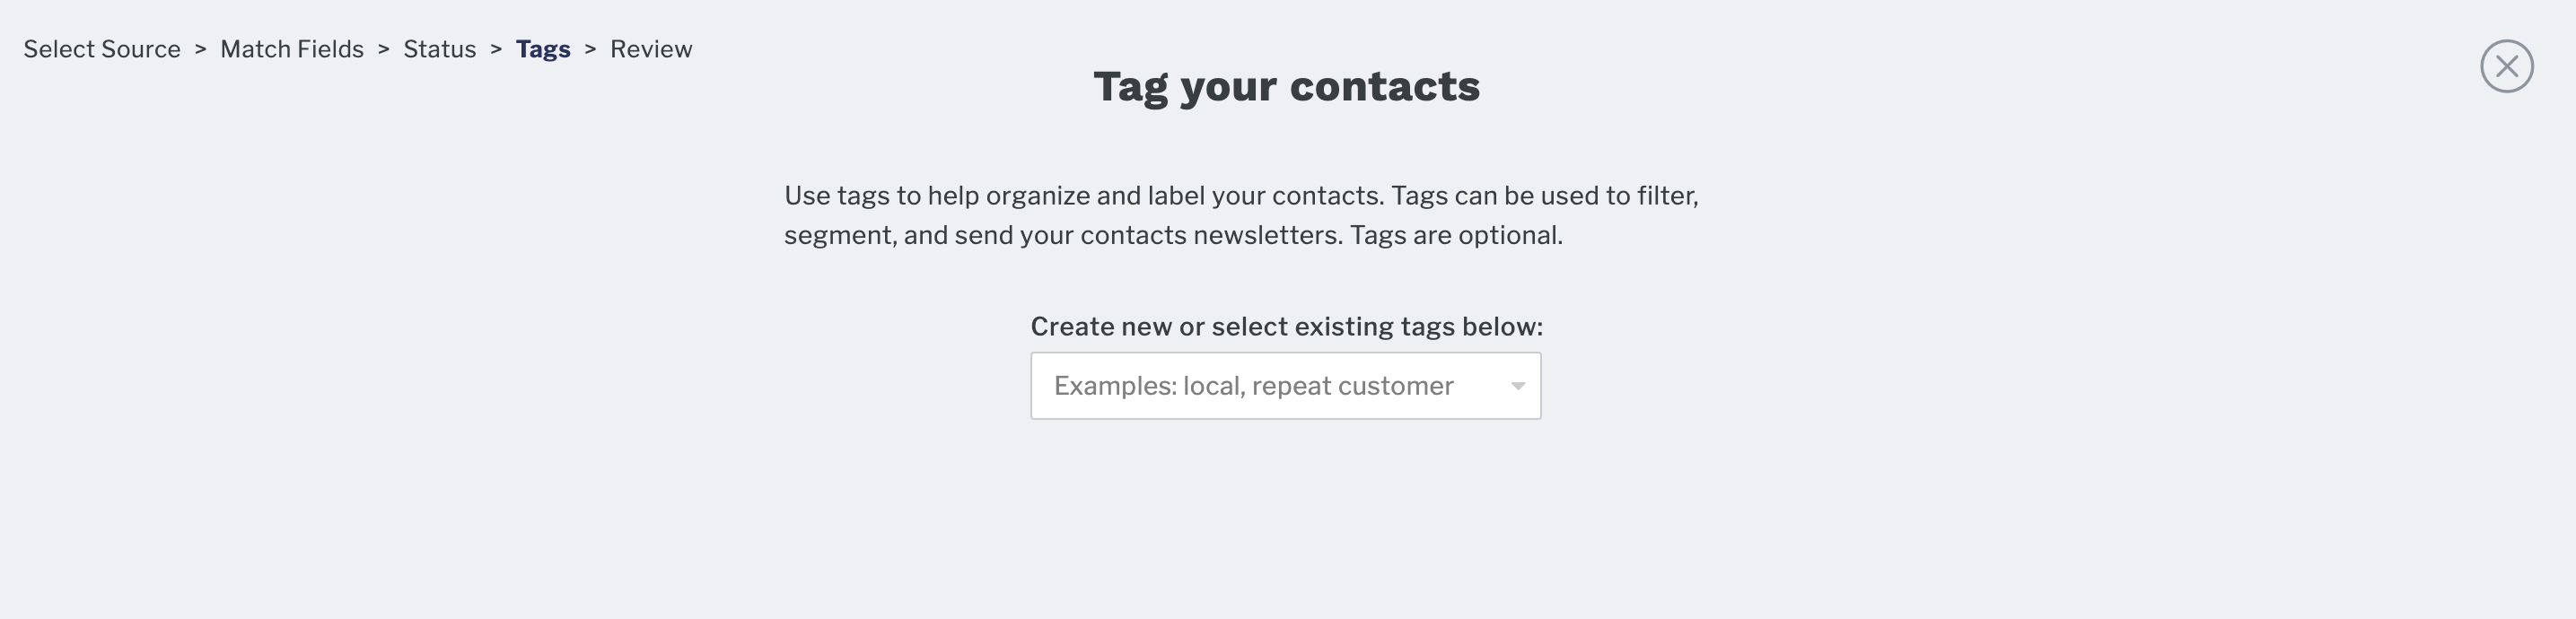
Add Tags to a Contact Profile
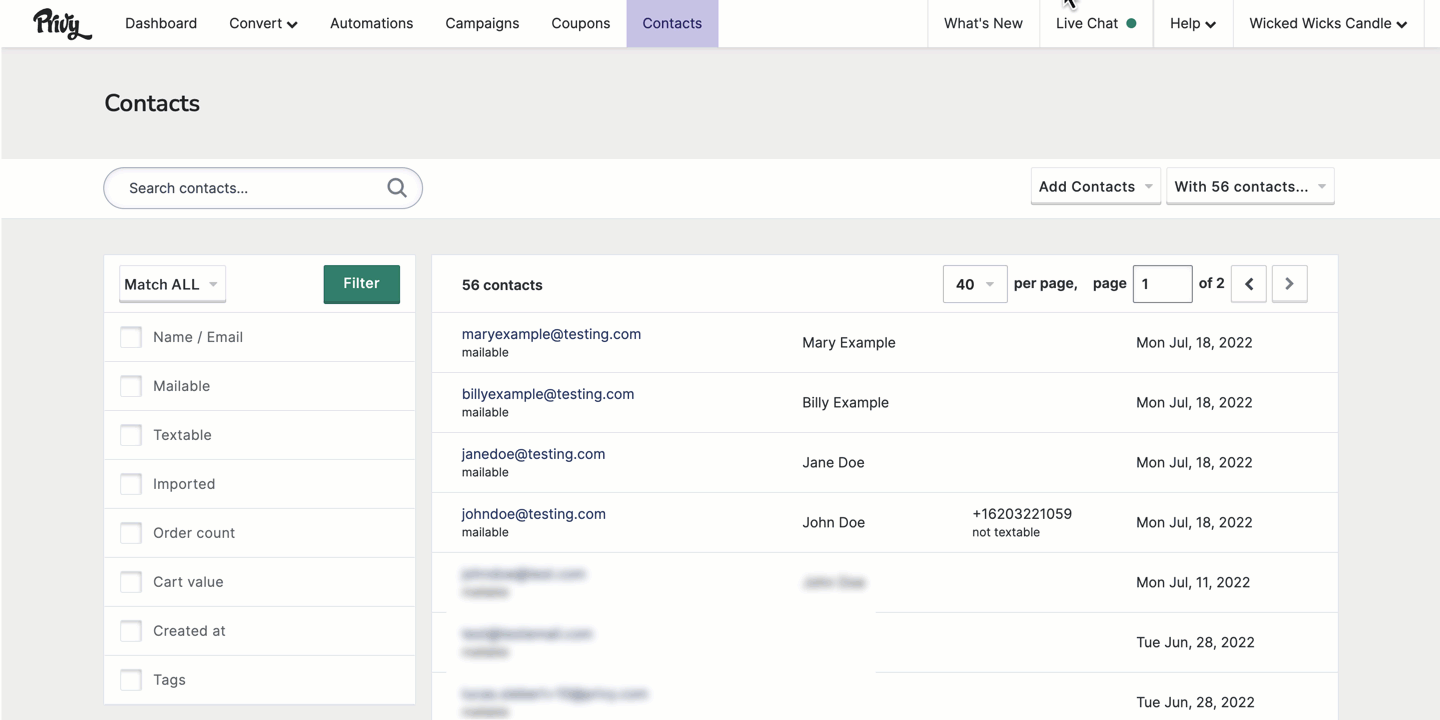
To add Privy Tags to contacts individually:- Navigate to Contacts > All Contacts.
- Search for and select the contact that you’d like to tag.
- Select the Add a tag option from the Attributes section of the sidebar.
- Select an existing tag, or create a new one. You can add more than one tag, if desired. Save.
Remove a Tag from a Contact Profile
To remove Privy Tags from a contact’s profile:- Navigate to Contacts > All Contacts.
- Search for and select the contact that you’d like to edit.
- Select the Edit option next to the contact’s tags from the sidebar’s Attributes section.
- Remove (X) the desired tags and Save.
Put your Tags to work
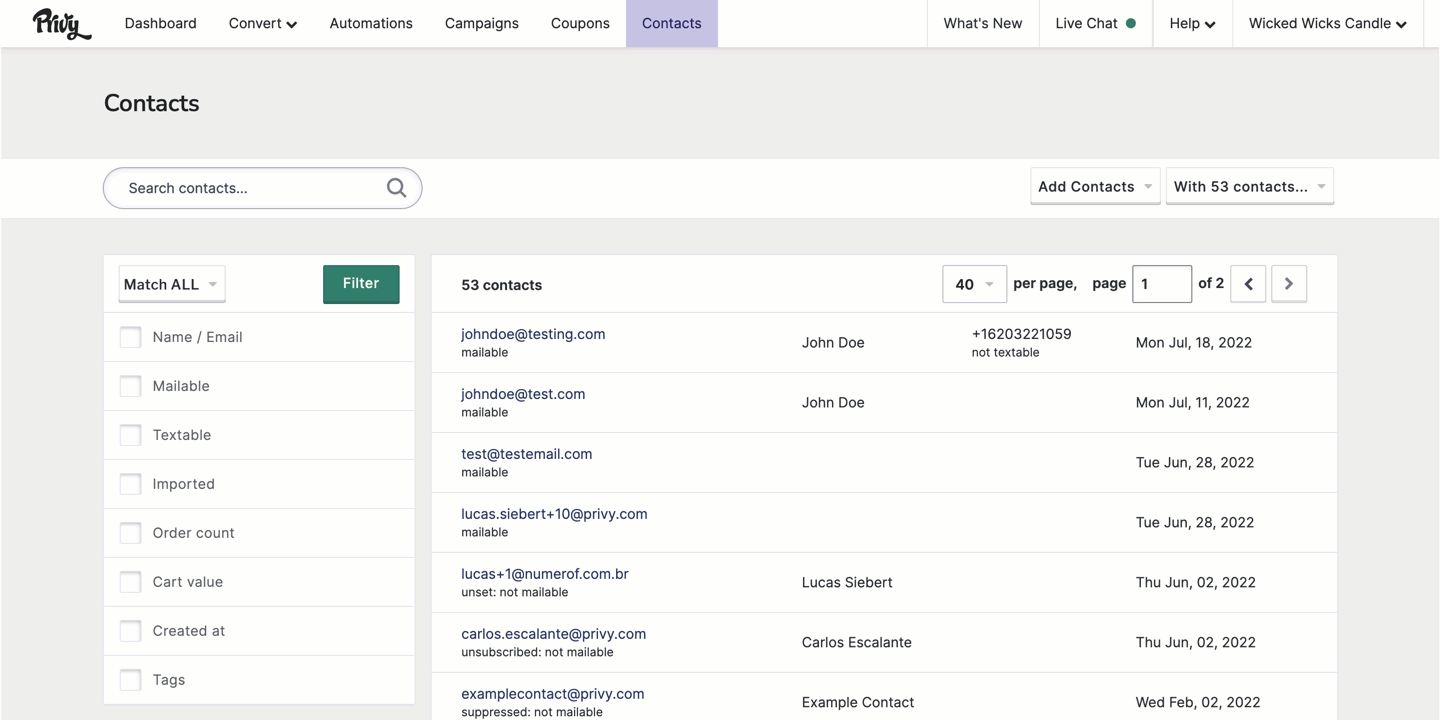
Once a Privy Tag is applied to at least one contact, it becomes available for contact filtering and newsletter audience segmentation.Contact Filtering
- Navigate to Contacts > All Contacts.
- Select the Privy Tags filter option from the sidebar.
- Configure the filter’s options and select which Tags you’d like to filter by. Click the Filter button to refresh your results.
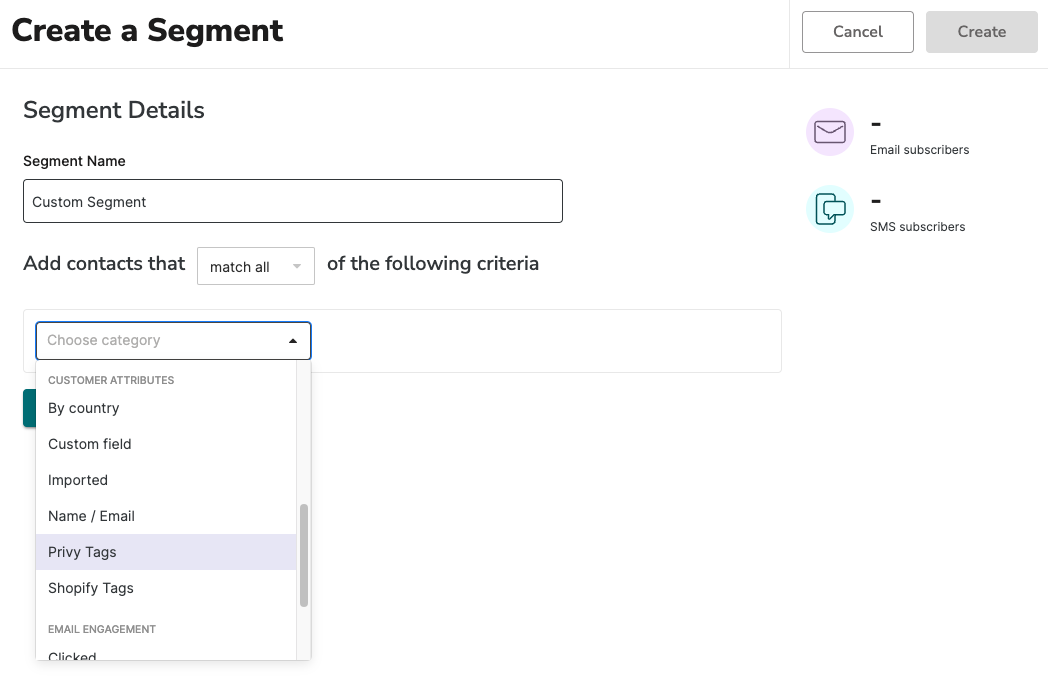
Segmentation
To use a tag for the segmentation of your Campaign recipients:- Navigate to Contacts > Segments.
- Select Create Segment in the upper right.
- Select the Privy Tags filter and select which Tag(s) you’d like to segment by.